










Ready to try eSIMs and change the way you stay connected?
Download the Airhub app to purchase, manage and top up your eSIMs anytime, anywhere!
App exclusive5% off at checkout
Setting up an eSIM on iPhone takes under 2 minutes. Here's your guide to install, activate, and manage eSIM on any compatible iPhone model.
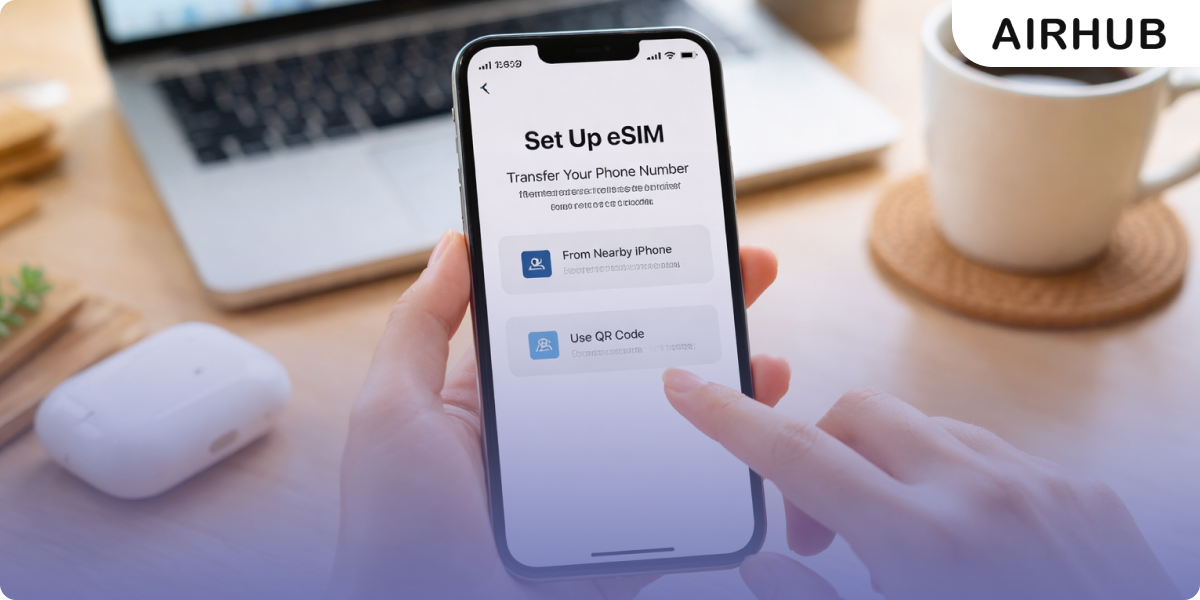
You've bought an eSIM plan, a QR code has landed in your inbox, and now you're wondering what you're actually meant to do with it. Here's the reassuring part: iPhones make this about as painless as it gets genuinely faster than most Android phones and there's more than one way in. This guide covers all of them: the classic QR scan, the newer one-tap trick on iOS 17.4, installing straight from an app, and manual entry for the odd case where none of those apply. Then we'll get it switched on, running happily next to your home SIM, and troubleshoot the few things that trip people up.
Thirty seconds of checking here saves a lot of head-scratching later. Three things to confirm before you install:
There isn't one single way to do this the right method just depends on how your provider handed you the eSIM:
They all end in the same place a working eSIM. Just pick whichever matches what's actually in front of you.
The one most people use. After you buy your plan, the QR code arrives by email or in the app. From there:
Under two minutes, start to finish. One thing to keep in mind: a QR code can usually only be scanned once, so don't share it around or try it on a second device.
Here's the shortcut a lot of guides still haven't caught up to. If your iPhone is on iOS 17.4 or later and the QR code is sitting in an email on that same phone, you can skip the camera entirely just press and hold the QR image in the email and tap Add eSIM when it pops up. iOS takes it from there and walks you through labeling the line. It's the quickest way in, and a lifesaver when there's no second screen to scan from.
If you bought your plan inside an app, this is often the least fiddly route of all nothing to scan. In the Airhub app, open your purchased plan and tap through the install prompt; the app passes the eSIM profile to iOS and you confirm a step or two.
It's the one to reach for when you're on the move and don't fancy digging an email out of your inbox.
No QR code in hand? Two more ways in.
Carrier activation is the automatic one, common with the big US carriers, where your iPhone just downloads the plan for you:
Manual entry is for when you've been given an activation code rather than a QR:
It's the least-used method, but it's the dependable fallback when scanning isn't on the table say, when the details arrived as plain text instead of an image.
This is the bit that quietly trips up more people than anything else: installing an eSIM and activating it are two different things. Getting it onto your phone doesn't switch it on you still have to turn the line on and point your data at it.
That last step deserves a word, because the name scares people off: switching Data Roaming on for your travel eSIM does not hand you a roaming bill from your home carrier. Those charges only ever come from your home line and once the eSIM is your data line with your home line's data switched off, there's simply nothing there to bill. It's also the single most common reason a freshly installed eSIM sits there showing "no data," so it's the one step not to skip.
Newer to all this? Our plain English guide to what an eSIM is covers how it differs from a physical SIM.
One of the quiet joys of an eSIM is that it lives alongside your home SIM or another eSIM so you're carrying two numbers on one phone. iPhone 13 and later can store several eSIM profiles and keep two live at once. A few habits keep it tidy:
It's the setup seasoned travelers swear by: home number still ringing for calls, travel eSIM doing the heavy lifting on data. Airhub eSIMs slot into this dual-SIM mode with instant activation.
Here's a small habit that quietly saves you plan days: install early, activate late. Get the eSIM installed at home while you've got solid Wi-Fi even a few days ahead is fine, since installing alone doesn't start the meter. What you hold off on is turning the line on and setting it as your data source, because some plans start counting from first use or first network connection. So install now, flip it on when you land.
Most installs go off without a hitch. When one doesn't, it's nearly always one of these five:
The old arrival ritual hunt down a kiosk, join the queue, hope the SIM actually works is quietly going extinct, and honestly, good riddance. An eSIM erases every step of it. With Airhub, you can buy an eSIM plan online in minutes and land already covered across 190+ countries on major local and global networks.
Sort it before you fly, using the steps above, and your connection is handled before the wheels even touch the tarmac nothing to buy at the airport, nothing to swap.
Go to Settings → Cellular → Add eSIM → Use QR Code, then scan the code from your provider and follow the prompts. On iOS 17.4 or later, you can instead long-press the QR code in an email to add it in a single tap. Either way it takes under two minutes.
Almost always because Data Roaming is off, or the eSIM isn't set as your active data line. In the eSIM's settings, turn Data Roaming on (this won't cause home-carrier charges), then under Cellular Data select the eSIM as your data source. If it still won't connect, check with your provider that the plan is active on their side.
Yes. iPhone 13 and later support dual eSIM two lines running at once. Most travelers keep their home number live for calls and let a travel eSIM handle the data.
Use carrier activation (automatic) or manual entry: Settings → Cellular → Add eSIM → Enter Details Manually, then type in the SM-DP+ address and activation code your provider gave you.
Install it at home on Wi-Fi before you leave installing doesn't use data or start most plans. Hold off on turning the line on and setting it as your data source until you arrive, since some plans begin counting from first use.
It works on any eSIM Compatible iPhone anything from the iPhone XS onward. Just make sure the phone is unlocked before you set it up.
Get your Airhub eSIM in minutes and travel without roaming surprises.
Download the Airhub app to purchase, manage and top up your eSIMs anytime, anywhere!